PDF Download
Changing the Perforated Seed Placard and the Adjustments

The machine should be cleaned and dried. Also it should be detached from tractor and should be stable.
- Only clean and good condition placards and parts should be used.
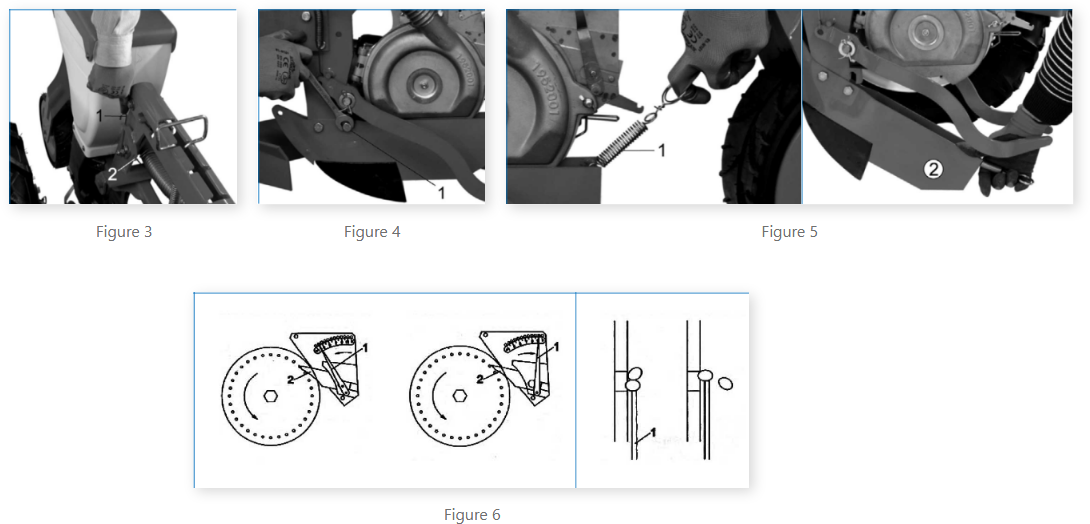
- Nails that are directed inside the unit should be on the perforated placard (Fig. 1).
- If the nails are bent or broken there may be foreign materials in sowing unit. In this case, the perforated placard should be replaced. If there are circular scratches on the disc, the thickness of the scratches should not be more than 1/3 disc thickness.
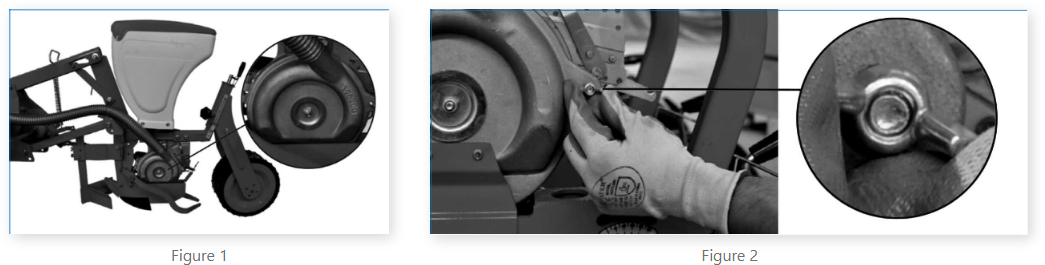
- Tighten the wing nut that is xed the side lid of sowing unit by hand. Do not use absolutely pliers, etc. (Fig. 2).
Make the following operations:
1) Lift the sowing unit from the land as described below.
- Disengage the spring (Fig. 3) and get it to the number 1 position.
- Lift the sowing unit of machine and provide engaging the hook.
- Get the spring to its old position (number 2) again (Fig. 3).
2) Detach the bolt (1, Fig. 4).
3) Down to below by compressing to the sowing foot , Fig. 5) after detaching the spring (2, Fig. 5).
4) Detach the wing nut by loosening (Fig. 2).
5) Open the lid of sowing units. 6) Detach the old seed disc and attach the new seed disc.
7) Adjust the seed ow cover as explained in section 7.6 if necessary.
8) Close the lid, engage the spring, tighten the wing nut, engage the sowing foot to its place and engage the lock nut if there is one.
9) Adjust the selector (seed scraper adjustment lever) as described in Fig. 6.
10) Down the sowing unit to land by applying the opposite process of article 1.